Thursday, October 20, 2011

Babies Everywhere! Crocheted Burp Cloth Tutorial

This month I have been invited to four baby showers and I will probably be invited to at least 3 more before the end of the year. Everyone is having babies! They are everywhere. I guess that is what I get for living in a college town going to BYU-Idaho.  All these babies are so fun, but it is a lot of gifts to buy/ make.

Over the summer my mother-in-law taught me to crochet around flannel burp cloths. These burp cloths have been a life saver not only as baby shower gifts, but also they have kept me busy in my new job. I have had a hard time finding new stitches to use and I have had a lot of people express interest in learning how to make these burp cloths so I decided to make a tutorial. This is a fun and inexpensive way to make a special gift for a friend or family member. You can also do all of these stitches around a flannel blanket as well. 

I am a beginner at this whole crochet thing, but I have really loved learning to crochet. 

Supplies:
I had 2 yards of flannel fabric. 1/2 yard of each print- this makes 8 burp cloths. (you can get 2 cloths out of 1/2 yard, 4 sides.)
burp cloth pattern found here
tread to sew
a wing needle/ hemstitch needle- $3.00 at most fabric store
crochet hook-size 4 
crochet yarn- size 10 or 3. (10 is easier to find)


Tutorial:

double up fabric 
a good pattern for the burp cloth is found here


Wing stitch needle (it is wider to make a bigger hole to crochet into).


You will want to put your sewing machine on double zig zag. On my machine it is letter "P".
 This way the needle will stitch in the hole twice. You can play around with the length, but I like putting it on the longest stitch length. ( less holes to crochet in).


Stitch along the edge of the fabric. There is no need to worry about raw edges because they will be covered with the crochet. 


Sorry no pictures on how to crochet, but there is how you do it.

Start with a slip knot. You will be doing half double crochet around the whole cloth.
Put your hook around the slip knot and the put your hook through the first stitch on the burp cloth.
Yarn over and put the hook trough the slip knot. Pull though. 
Yarn over put the hook through the stitch in the cloth. 
Yarn over and then pull through all 3 loops. 
You just did a half double crochet.
(I hope this is good enough. If you have any questions let me know)

It should look like this when you are done. 


This one is the 
scallop stitch
After you half double crochet around the whole thing you can make the scallop stitch.
Skip first 3 stitches. 
Yarn over. 
Pull through first crochet.
Yarn over again. So you now have 3 loops on the hook. 
Yarn over and pull though the first loop.
Yarn over. Pull though two more. 
Yarn over again. Pull though two more. 
( I believe this is a double crochet.)
Do this 7-10 times in the same hole. 
Skip 3 crochets and single crochet into the 3rd crochet to stitch down the scallop.
Continue in the same hole with the scallop stitch.
( once again this is my first time. Let me know if you have any questions.)


This is a
Ruffle Stitch
This one is very simple. 
After you half double crochet around the whole cloth single crochet into the first crochet. 
Chain 3 and lock it down by single crocheting into the next crochet. 
Do this all the way around.  


Once again I am a beginner at all of this. I really wanted to share what have learned with all of you. Please let me know if you have any questions or suggestions on how I can make my directions better. I hope you enjoy making these as much as I do. You can also do all of this around a blanked if you want. 

Good luck and happy crocheting!

Wednesday, October 12, 2011

Elder Spencer Olsen


My "little" brother who is not so little just left today. He left his home, his family, and all of his worldly possessions to go serve the people of Honduras for two years. He left to go serve the Lord, to act in the name of the Lord and to give his all to him to help the people of Honduras for two year.

I am so proud of him for making this decision. I am so proud of him for getting his act together to go out.

My brother and I have never really got along. He drives me crazy and I usually could not stand to be in the same room as him for more than a couple of minutes. You could imagine what our 14 hour drives to California or the 25 hour drives to Canada we used to do when we were little were like... But despite our differences and our irritation toward him I love him and I am proud of him. He is the oldest for 4 boy and I am so proud of him for setting this great example for his younger brothers.

He will do a great job out there and I know he will be able to serve the people of Honduras.

The advice my husband would give him would be "Don't be Stupid".
My advice is follow the rules, read the scriptures, and rely on the Lord and all things are possible!

Love you little bro! Good Luck!

Saturday, October 8, 2011

Simple Halloween crafts... under $10

Over the summer I learned to crochet. I decided to use my new found hobby to make Halloween decorations. I made a halloween bunting and I am quite proud of it! I used this tutorial to make the bunting. It was really simple and fun to make. It helped pass the time at my new job. It adds a little halloween decor to my small apartment!


I wanted to do a fun wreath to put on my from door. I bought a cute halloween vinyl from pick your plum for $2.50 which was only shipping! I love finding good deals! I decided I would Put it on a picture frame from DI that I wrap in yarn (left over from the bunting) and a few other creepy crawlies I bought from the dollar store. Don't get too scared next time you come to my apartment! Don't worry there are not TOO many spiders crawling around here! 


Wednesday, September 28, 2011

Halloween Subway art

We are 3 days away from October and you know what that means.... Halloween is on its way. I have been working all week on a Halloween crochet project that I will feature in a couple of days. 
In the mean time enjoy this Halloween subway art I came up with while avoiding the dirty dishes in the sink and the messy bathroom. What Halloween projects are you working on?


If you would like a copy I'd be happy to send you one.  Leave a comment telling me the size you want and your email.

Monday, September 19, 2011

super easy envelope pillow

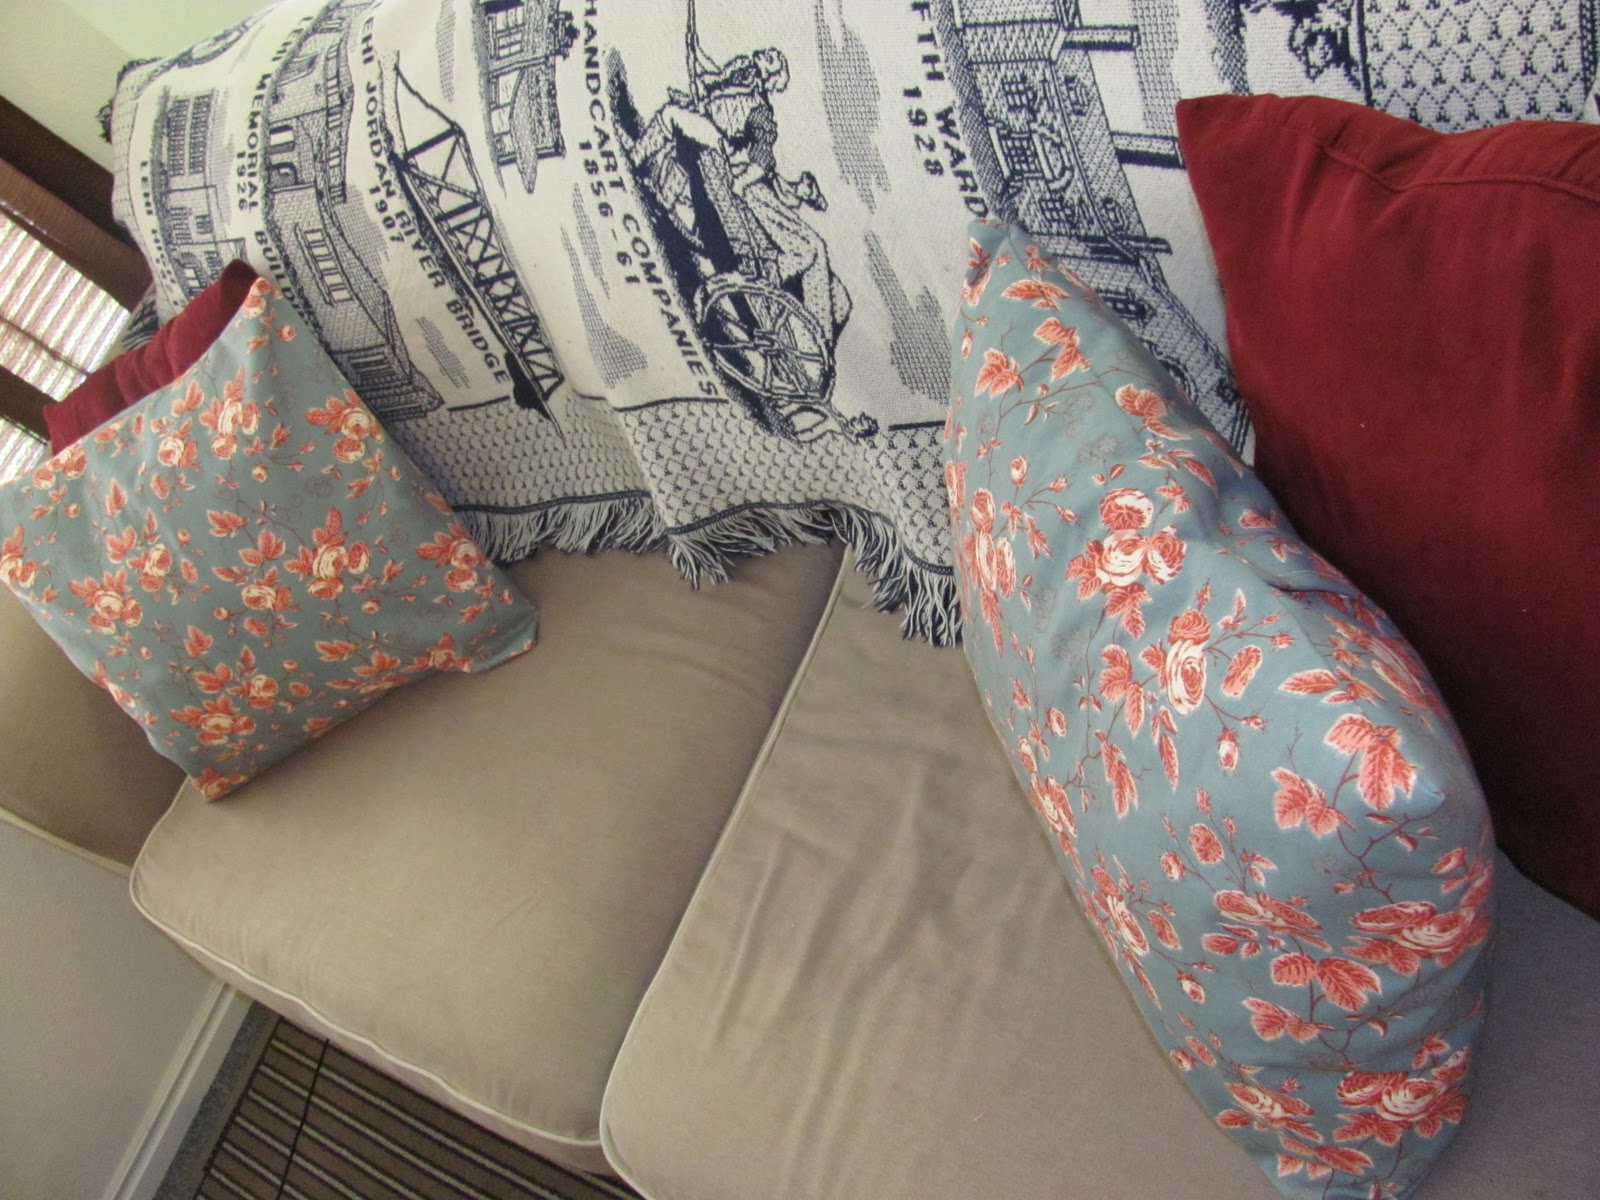
I am not in school right now and because of that I have a ton of free time on my hand. Last week I made the mistake of going to the wonderful home fabrics store in Idaho Falls... a great place to get home decor fabric for WAY cheap... like $5-7 dollars a yard for 75 in fabric. I am amazed how they can sell such wonderful fabric for so cheap. Even a poor married college student like me can afford the fabric in this store.

I went to just look, but a found a print I fell in love with for only $6 a yard and if you are a student you get another 10% off. So for a total of $5.50 I got a yard of wonderful fabric to add some color into my very brown living room. The pillow filling was made out of a regular sized pillow from IKEA only $1 and re-sized it to be a throw pillow size. For a total of $8 I made two throw pillows! A steal if you ask me. I love them and they are so comfy compared to the pillows we got free with our free couch.

I decided to go way simple, but they are perfect. I used this pattern for a very simple envelope pillow. Check it out... More crafts to come ( I got a new job and my husband is going to give me a craft budget!)

Before


After


I love the way my couch turned out. 

Thursday, September 15, 2011

Today I love you becasue...


I don't think I can explain it enough 
so that is why you put it into 
a frame and write it each day
with a dry erase on the glass.

(if you would like a copy of this email me at laurenraeo@gmail.com. I can also change the color and size.)


Related Posts Plugin for WordPress, Blogger...